
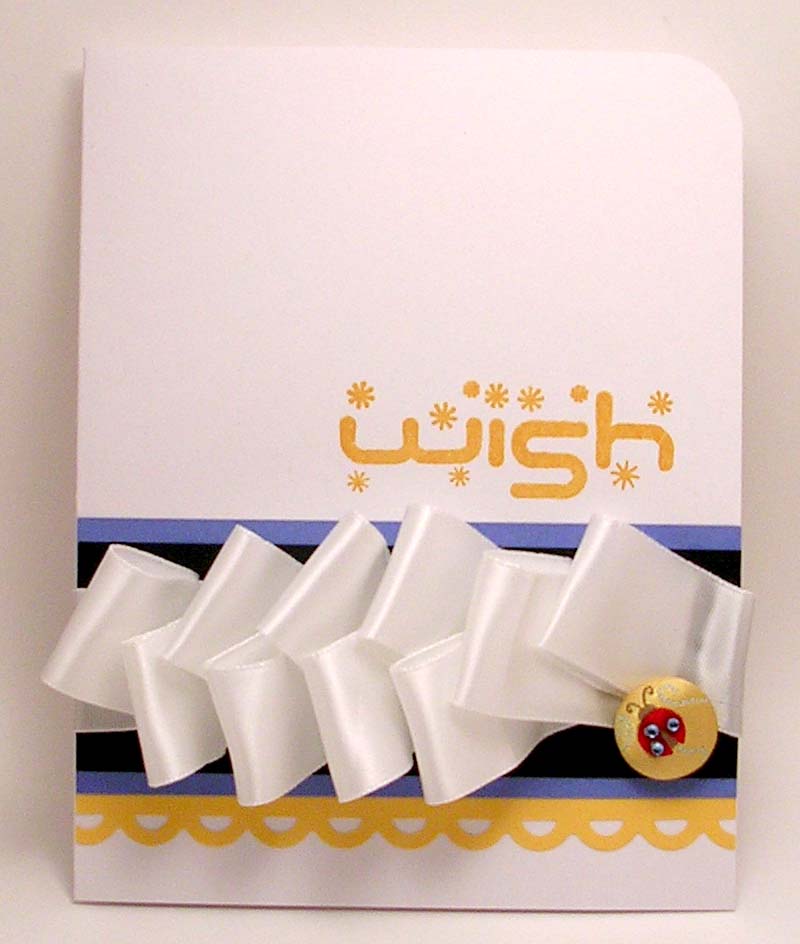
 I ran across this pleated ribbon tutorial over at Pretty Pink Posh, and I wanted to try it out for today's card. It's definitely a different take on how to use ribbon. I can see myself using it to make a bold focal point in future cards, as an alternative to the traditional bows and knots. I think the key is to have a very strong adhesive to ensure that the pleats stay put. The Tombo Adhesive tape runner just wasn't cutting it, so I had to use a dab of Beacon's 3-in-1 craft glue to secure each pleat to the black cardstock. In retrospect, I should have used a different color of ribbon since the cardstock base was white, but I think this is a good first try.
Card Specs:
Ink: Colorbox chalk ink in Yellow Ochre
Stamps: Fiskars- Sentiments (sentiment)
Punch: We R Memory Keepers Corner Chomper, Fiskars Apron Lace border punch
Brad: K&Company- Wild Saffron

3 comments :
Oh, I just love learning new techniques that add to my craft. I think it looks great just the way it is!
Hope to see you visit me - maureen
http://maureencracknellhandmade.blogspot.com/
Very cute! I love pleated ribbon on cards, adds a very charming, sophisticated feel.
Oh, very cool ribbon technique!
Post a Comment